Part (2) Domain Name
Part (3) 2FA
In my mind, this will be a series of technical tutorials and also a record of how I set up my personal cloud/storage/server, and how I gave up on big techs and put all my data on my own storage. This blog lives in my NAS. I may still write something else in between.
How It Started…
The election in the United States is the biggest reality show every 4 years in the world. And it was no difference in 2020. I’m also not surprised at big techs censoring people with different opinions, controlling what almost everyone reads online. What surprised me was how Donald J. Trump disappeared overnight on the Internet, and how Parler was cancelled by all big techs. If they don’t like you, they can make you disappear and they will destroy you. I totally lost faith in tech industry. I used to trust companies like Google – I moved my online storage from Dropbox to Google Drive, I moved all my photos from Flickr to Google Photos. Then I realized I was wrong. I was so upset at myself and I felt betrayed. I might write another piece about that.
Anyway, I wanted to control my data more than ever. I read Terms & Conditions of Google Drive service, which basically says they can delete your data if they think you violate their terms, which contains “hate speech”. This made me more determined than ever to build my own storage solution, to take 100% control over my own data.
Get the NAS
I have known NAS (Network Attached Storage) for a long time, and I know it can satisfy my needs. The only thing that I didn’t think about before hand, is the backup for disasters – if my house is burnt down or flooded, the hard drive array will die, and I’ll lose my data. I’ll talk about that later.
So I started my investigation on NAS. Now I know there are basically two professional NAS manufactures – Synology and QNAP. I thought Synology was an American company, so I chose it without hesitation. It turned out I was wrong – it’s a company in Taiwan – which I still like. There are tons of videos on YouTube comparing them. Synology provides better software solutions, and QNAP can almost provide all hardware you can think of.
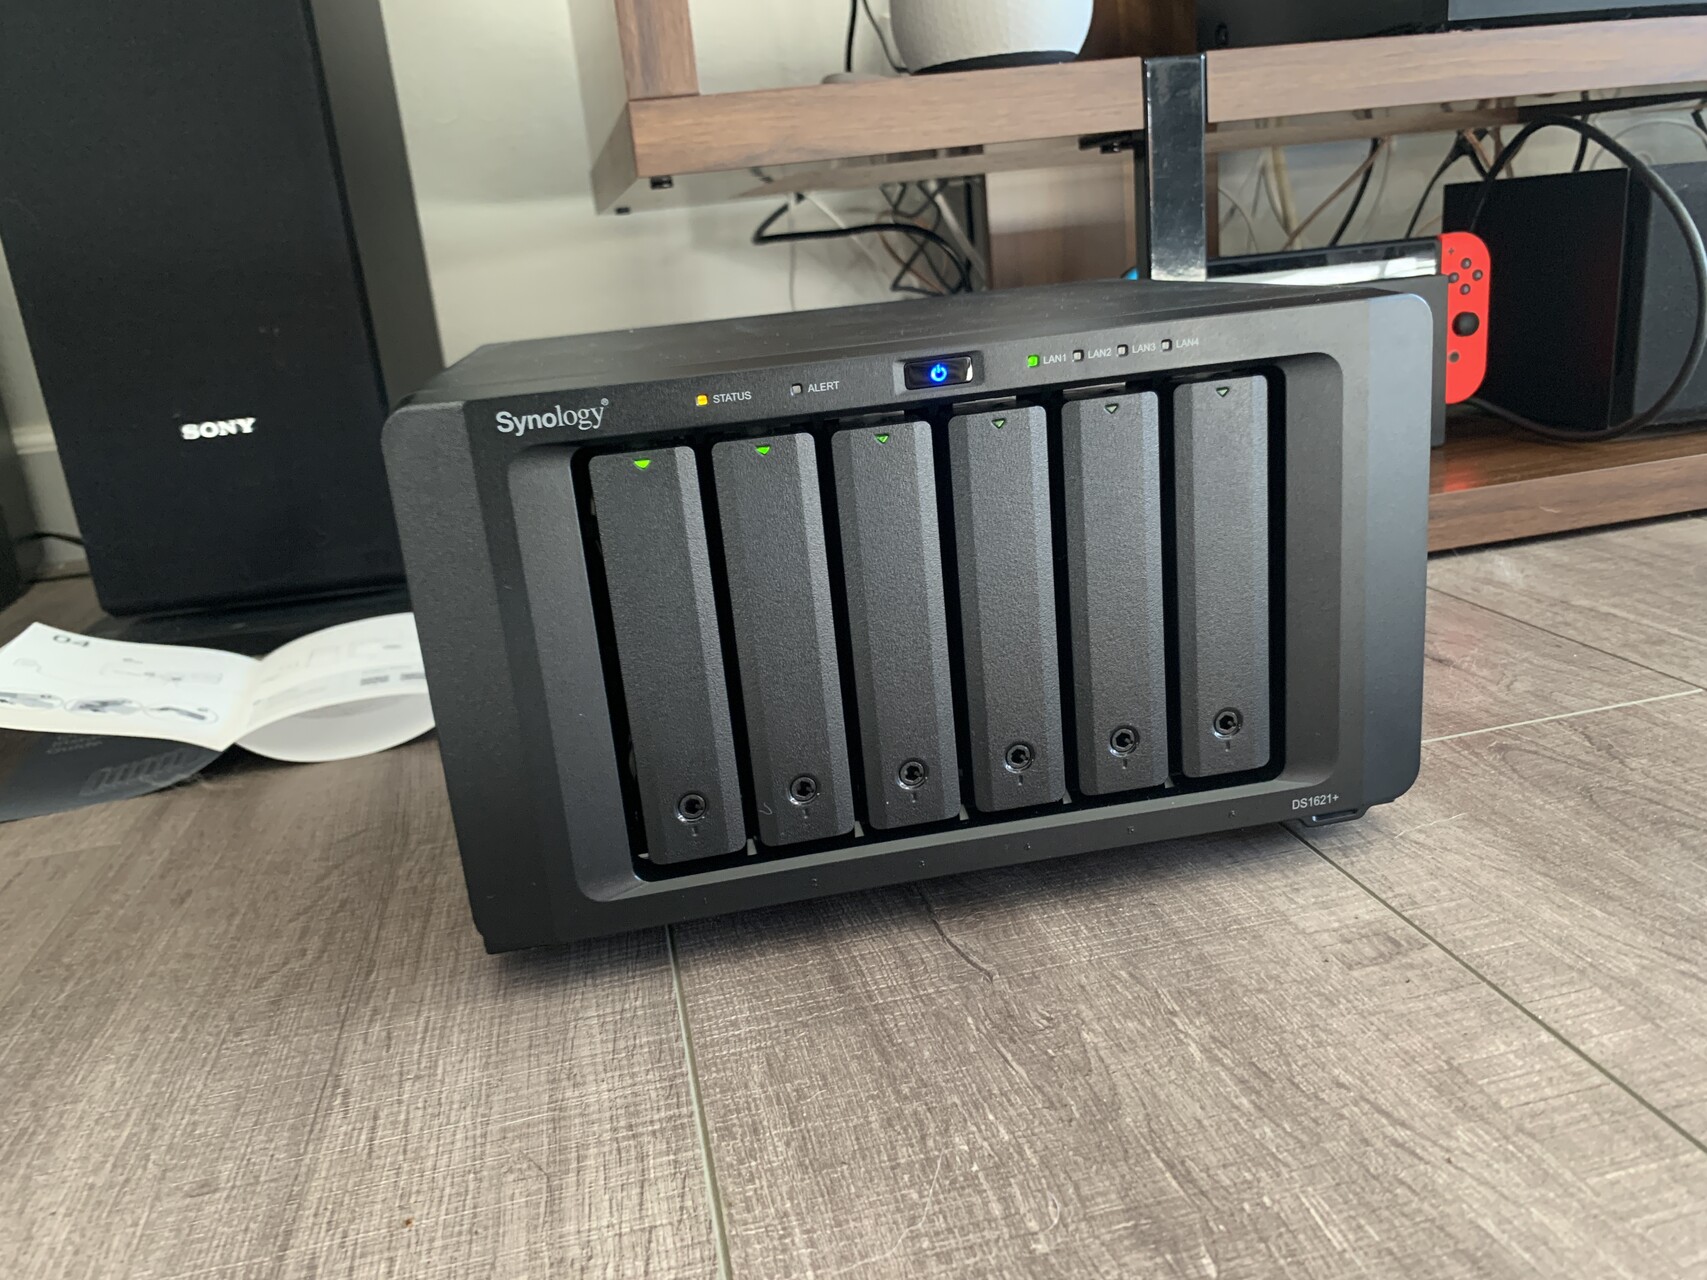
Go big or go home. So I went big with Synology. I got DS1621+ with 6 bays. I just looked at their website and I decided I needed 6 bays. Another option is to go with DS1621xs+, which is almost as twice as expensive as DS1621+. But it has more powerful CPU. While more power is always better, DS1621+ can satisfy me easily.
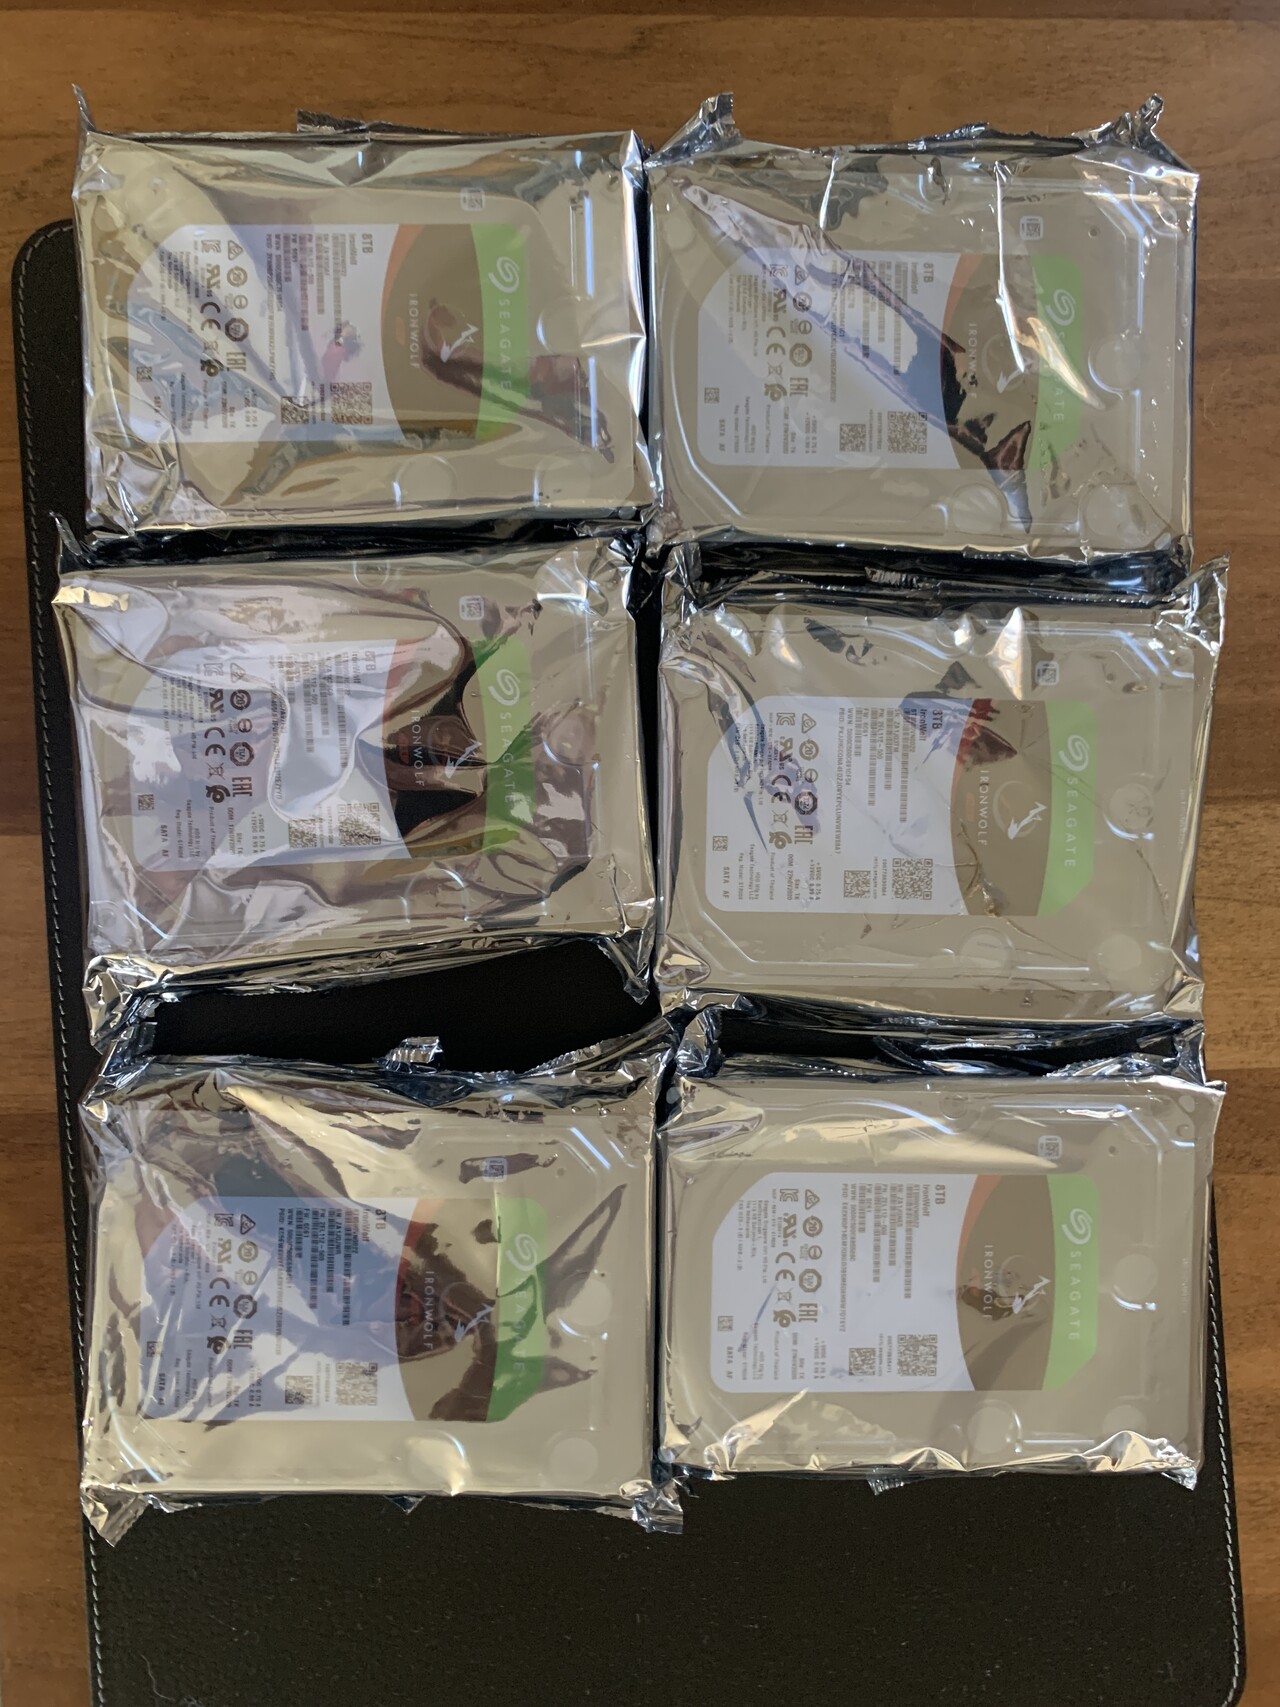
Choose hard drives. Both Western Digital and Seagate have specialized hard drives for NAS. As far as I remember, WD Red Disk and Seagate Ironwolf. I went with Ironwolf – 6 drives, 8TB each. If I choose again, I’ll probably go with 12TB ones. Size does matter. And I’m that kind of person who will be anxious about available space all the time.
It’s very easy to install hard drives – completely tool free. The NAS comes with little keys which can lock drive bays. And connect it to your router with a Cat6 cable. Router is very very important for the stability and functions of your NAS. So don’t try to save money on that.
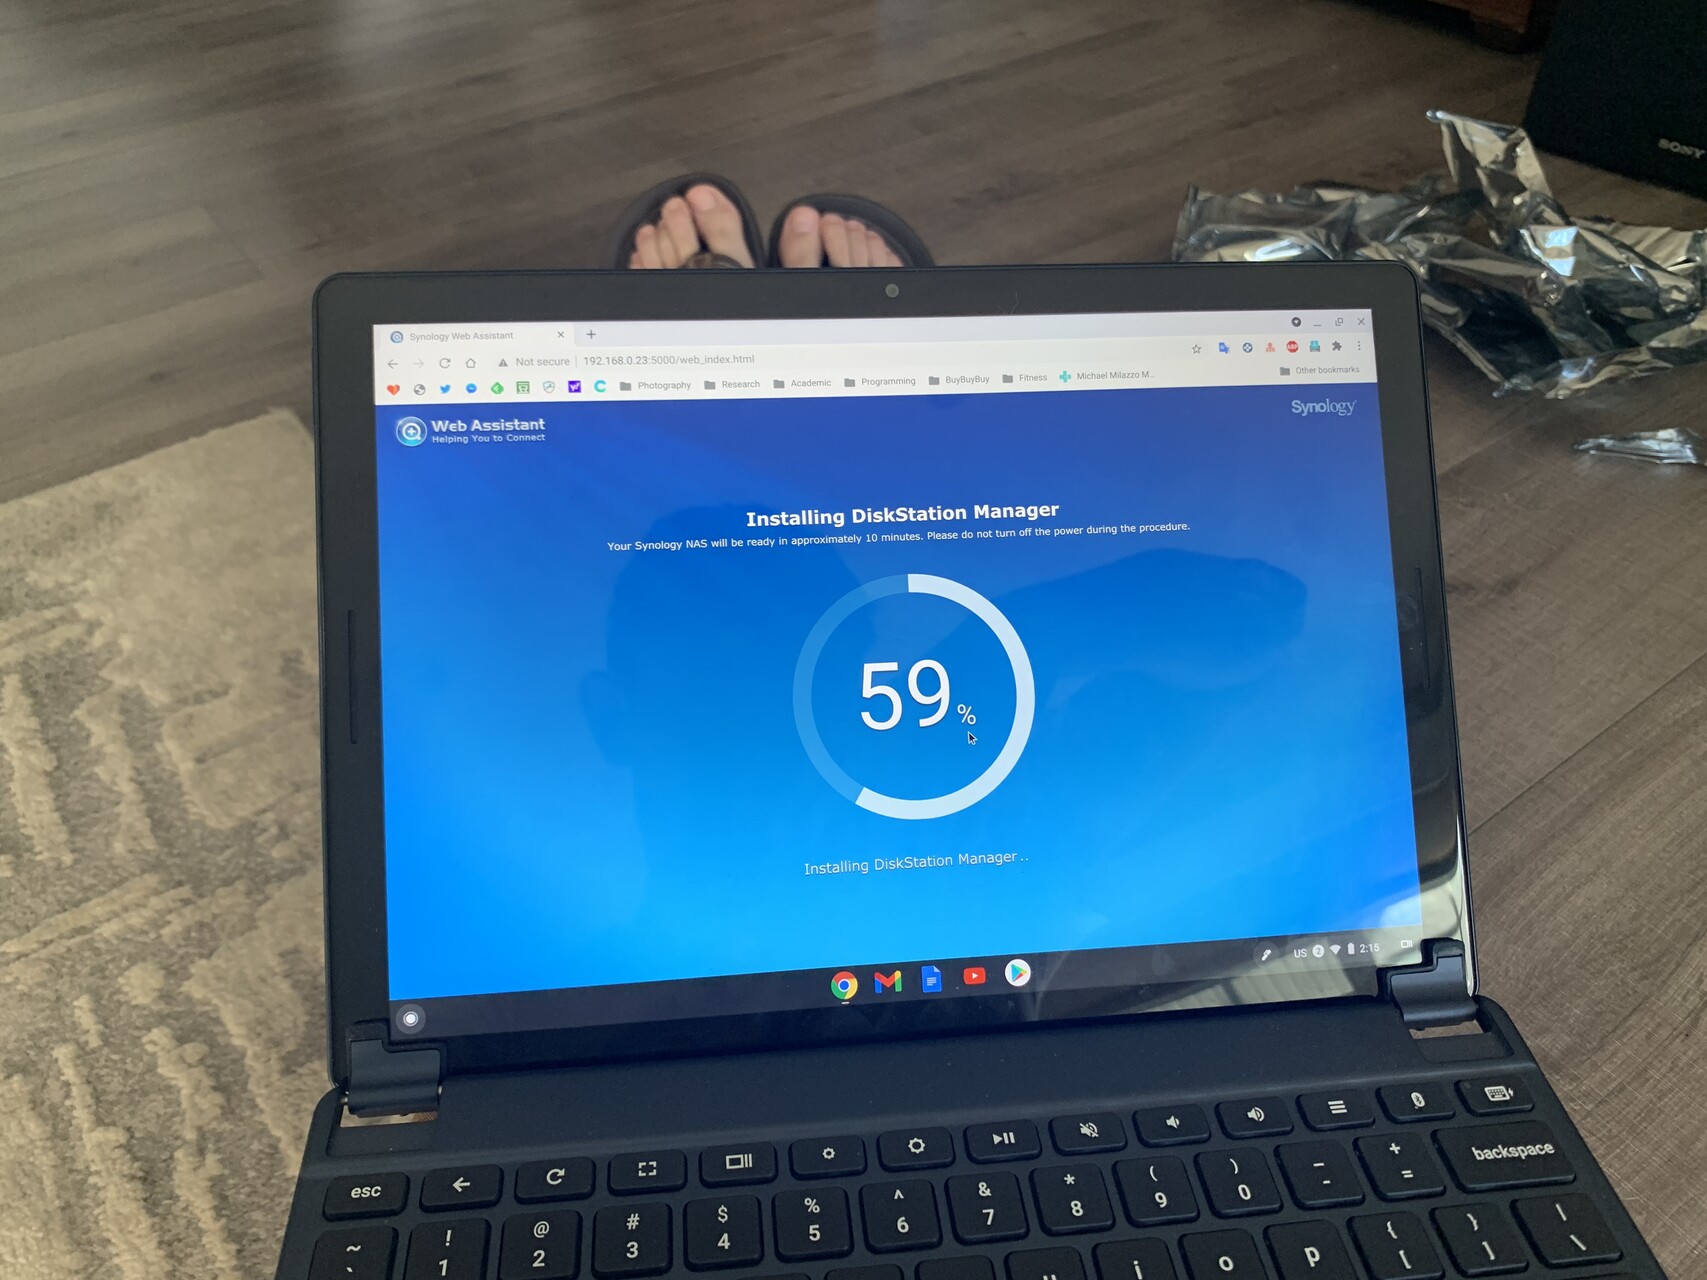
After starting it, wait for a few minutes until the lights are stable. Just follow the very simple instructions to set it up for the first time – it took some time. I used my Pixelbook to set it up. It’s relatively easy and straightforward. But you need to set up a few accounts:
1. Account for your NAS. The interface to manage the NAS is called DSM (DiskStation Manager). I don’t know what it is based on.
2. Synology account. It’s an account to do business with Synology.
After that you’re basically done with the first step. Also you can set it QuickConnect with Synology, which is a service to visit your NAS outside of your home network – which is nice. You can use it as Google Drive + Google Photos + more.
Applications to Install
Personal Cloud
DSM comes with File Station – like file explorer (win) or Finder (mac). But for Google Drive like experience, you’ll need to use Synology Drive. It also has mobile apps.
Photo Management
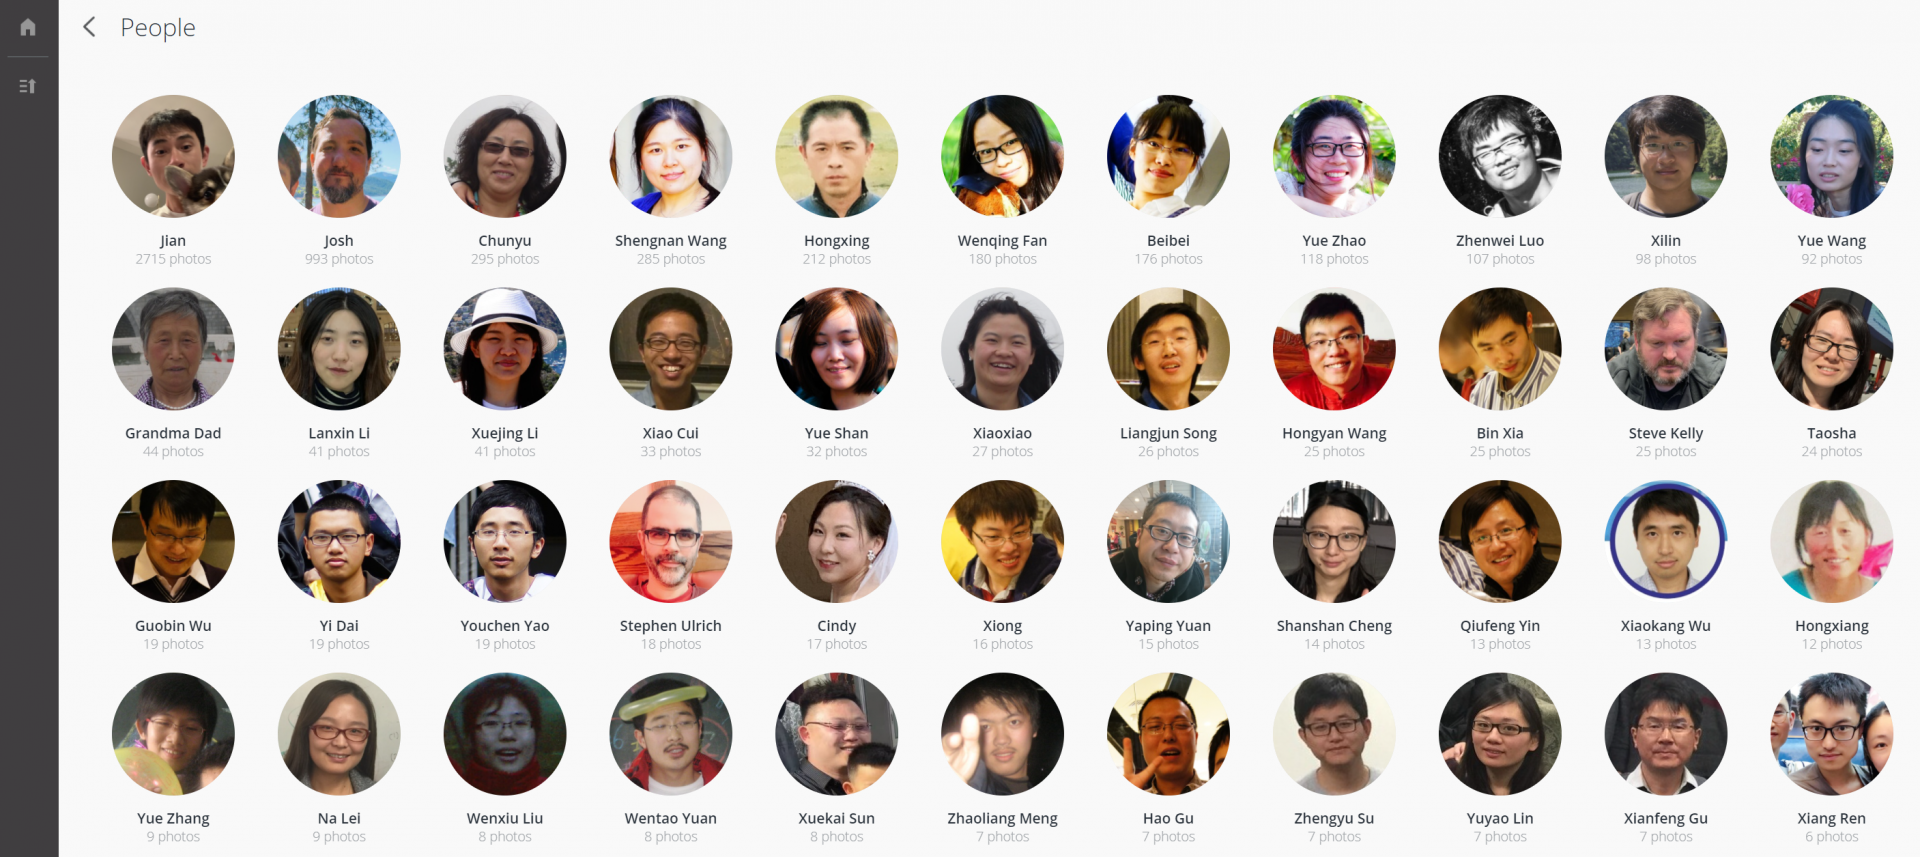
We all take a lot of photos every day, especially when every phone has cameras. Synology has two solutions now – Moments and Photo Station. Moments is more like Google Photos. It has some artificial intelligence built in. It has object and face recognition. Of course it’s not nearly as powerful as Google Photos, but it all runs on your local NAS and no one ever has access to your photos unless you share them. It also has mobile apps, and it can back up photos on the phone automatically.
Another older solution is Photo Station – It’s very similar to File Station, but for photos. I haven’t tried it so I can’t say.
An upcoming app is called Synology Photos. I guess it’s another attempt to make it more powerful – similar experience to Google Photos. It’s still in beta, and I don’t want to risk my photos. So I won’t try it until it’s formally released.
Media Library and Streaming
Another benefit of NAS is you have a place for all your DVDs and Blu-rays! And if you know that you don’t own the content when you buy movies online, you may just like to go old-school with discs – at least you know you own that piece. When they took down Gone with the Wind you can’t access it even if you have bought it.
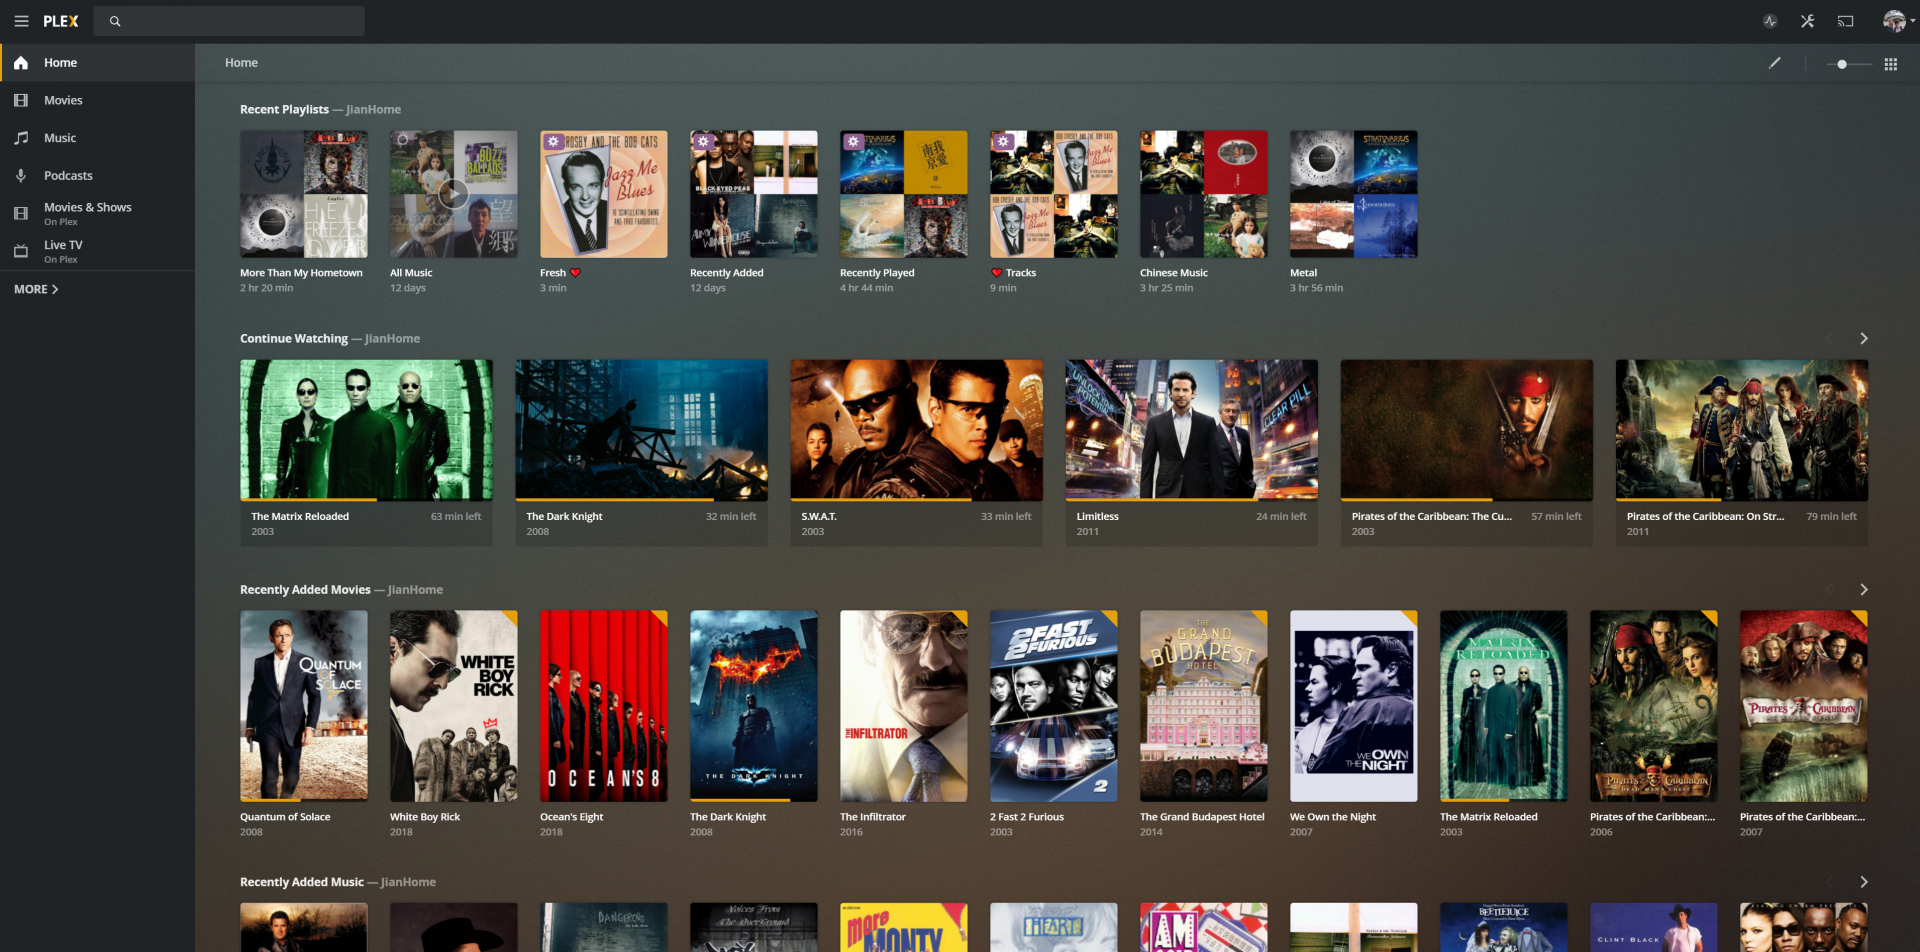
But now you have NAS + Plex. Plex is a service to manage all your medias and to stream to whatever device you want to watch on. Roku, Google TV, Chromecast, Apple TV, mobile devices, Android TV, Nvidia Shield, XBox, PlayStation… You name it. You’ll need to install Plex Media Server on your NAS, and register an account with them. To stream medias, I think you need to buy their membership. I was so surprised that they have Lifetime Membership option, costing only $120. With subscription services so popular today, it’s hard to imagine company like Plex still provide an option that you can pay once and enjoy it all. Good old days. Like when PornHub had a promotion that lifetime premium membership for like $280, I thought it was a no-brainer and I paid for that instantly.
Plex setup is very intuitive. You assign location for your library and upload your media there. Don’t forget to change permission of that location to be readable by Plex. It can scan the content and match it with metadata online automatically. Well 90% of time it does a good job, sometimes you need to modify it.

This is the Plex web interface. It’s very modern design and very functional. There are a ton of settings for Plex, including video/audio formats and transcoding related. Most people don’t understand much about it. I work on video codec so I know everything about it – different codecs, and how to avoid transcoding since it’s very heavy duty and slow to do. But when you’re playing on local network on big screens (like TV), it usually doesn’t do transcoding, just streams the original format.
What’s Next…
QuickConnect could be used to access NAS outside your local network. But a more efficient way is to use your own domain name. I’ll talk about how to set up a domain name for your NAS, apply for a SSL certificate and set up DDNS.
