One benefit of owning a NAS is to easily stream your medias, including movies and music, to any devices thanks to Plex Media Server. And you own your content, not some digital purchases that can be pulled off when someone else decides it’s not appropriate. But what if you already own a lot of DVD and Blu-ray discs? Here I’m going to discuss how to digitalize those discs. First I’ll talk about movies.
DVD comes with 480p resolution, it’ll be very blurry on big screen TVs which support 4K nowadays, and they are normally encoded with MPEG2, which is very old. Normal Blu-ray discs are usually with 1080p (FHD), and encoded with H.264. And we have 4K(UHD) Blu-ray discs encoded with HEVC now. Most modern devices support HEVC hardware decoding.
You will need the following tools:
- Optical drive that can read DVDs and Blu-rays
- MakeMKV software
- (optional) HandBrake transcoder software
Any optical drive you can find on Amazon would probably do the job. However, something is different for 4K(UHD) Blu-ray discs. You will need special tools – there are a lot of discussions on the MakeMKV forum. I’d recommend reading this post which answers a lot of questions about 4K(UHD) Blu-ray discs. And I also recommend reaching out to Billycar11, the author of that post, to buy a flashed optical drive, which saves you a ton of time. I got mine from him and it had been a breeze to work with him.
Digitalize with MakeMKV
After installation and inserting your disc into the optical drive, open MakeMKV. It’ll scan the disc automatically, looking for some basic info about that disc. After that it’ll settle down with the following window:
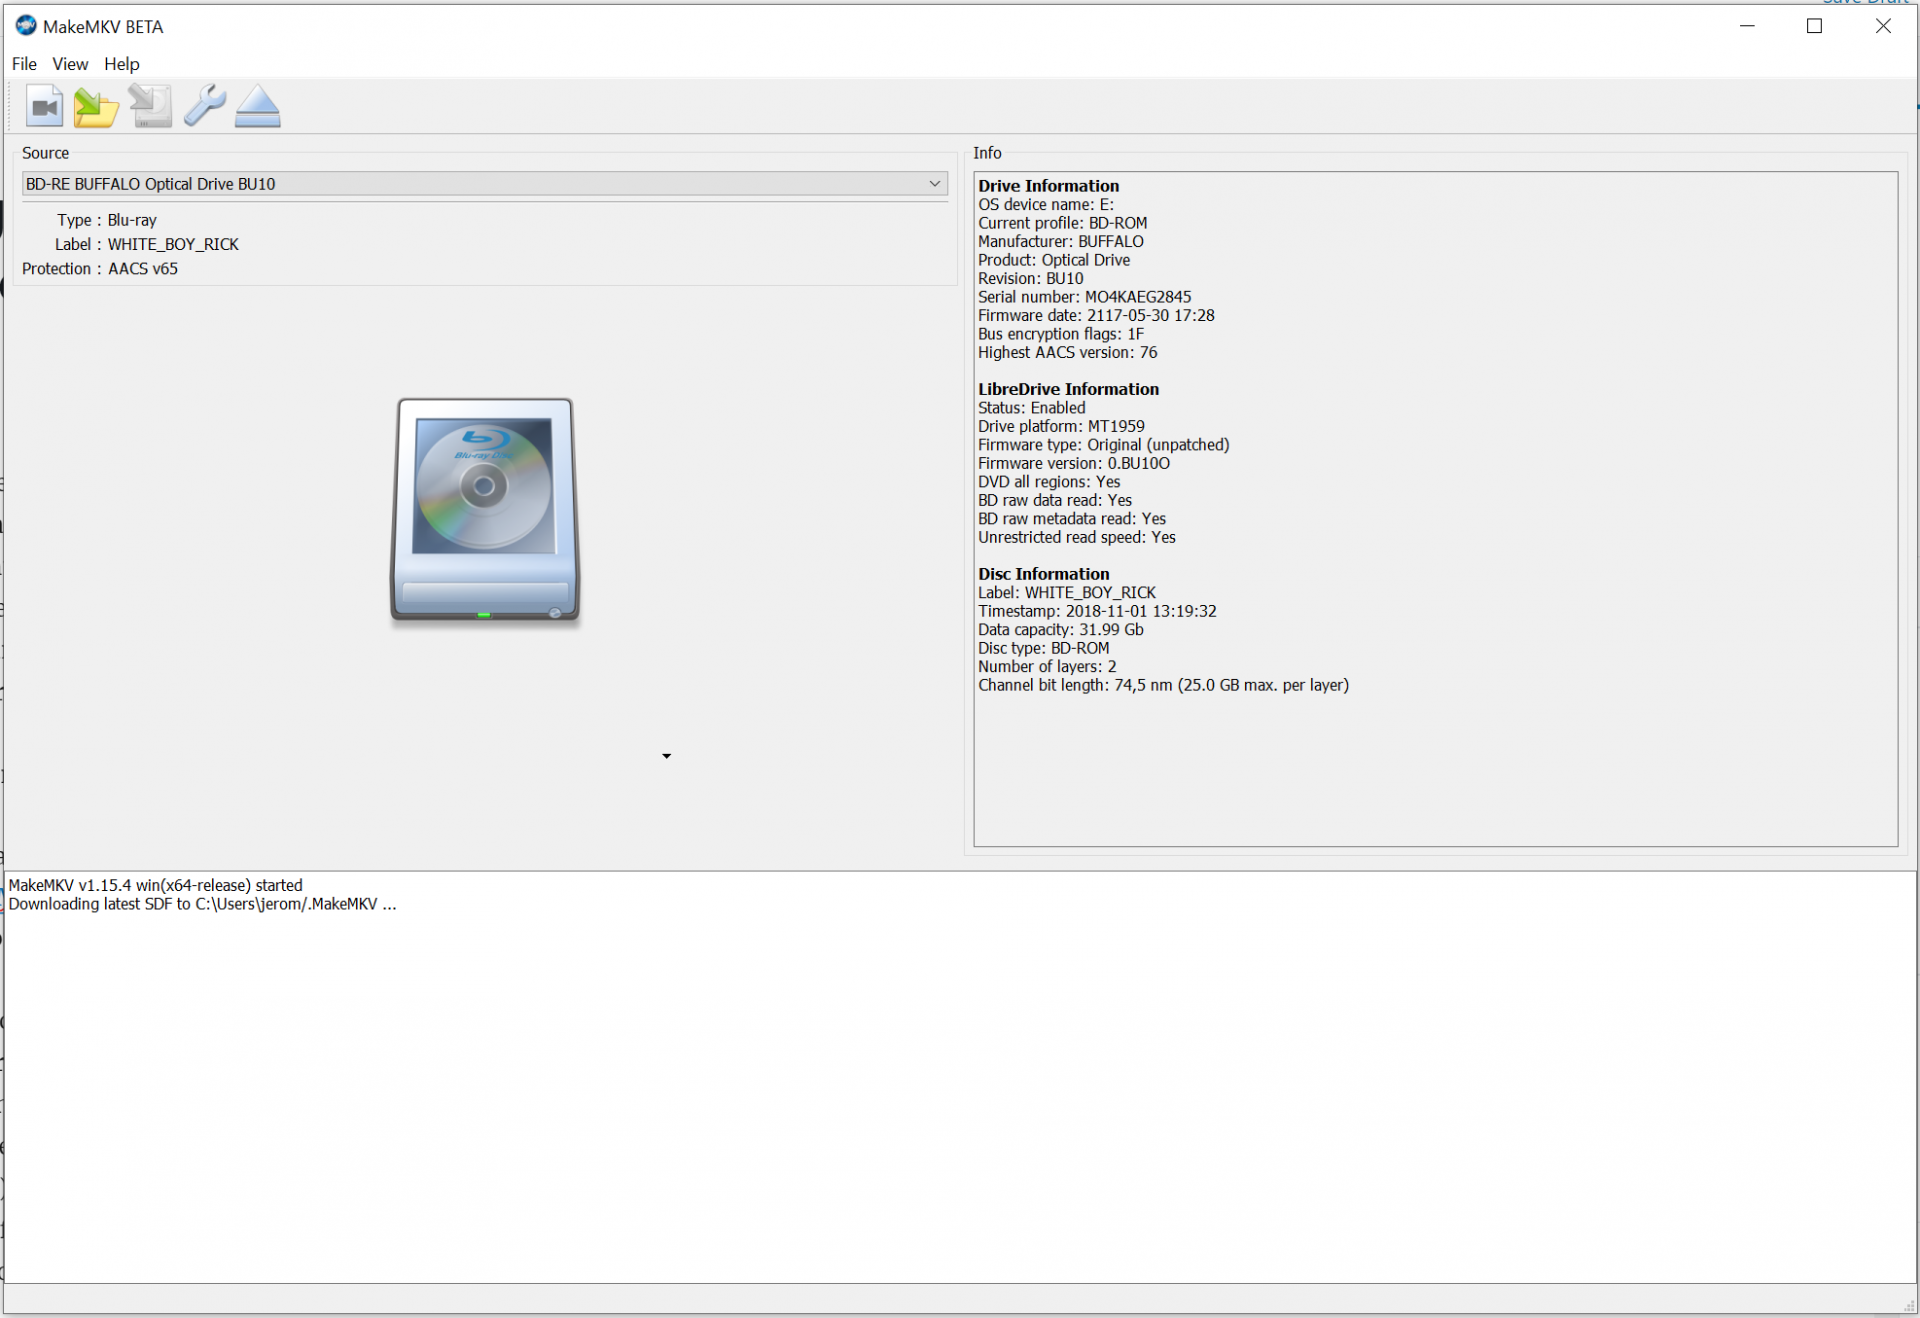
What you need to do is to click on the huge optical drive icon in the middle, and it’ll scan and decrypt the disc and list all titles from that disc.

There are usually a lot of them, and you want to only select the biggest one – that’s usually the main movie. Others are just some previews or features that come with the disc.
You can also select what audio and subtitle tracks you want to keep. And then specify where you want to keep the MKV file on the right, and click the MakeMKV button on the right.
It usually takes about 45 mins to 1 hour to rip the Blu-ray disc, and about 20 mins for DVDs. You can then upload them to your NAS media libraries, and Plex will pick them up and update the library.
A tip for connecting your computer to the router: If you want maximum uploading/downloading speed, connect your computer to the router via Cat6 cable, instead of wirelessly. Wi-Fi is far slower than using a cable. With a Cat6 cable, I can reach 100MB/s (1000Mbps, maximum speed supported by my router) all the time. With Wi-Fi, maximum speed is probably around 60MB/s, and sometimes it is as slow as 20MB/s.
